My upholstery project has brought me back into the classroom once more, and I can’t think of a better way to kick off the new year. As promised, I’m sharing my journey with you, step by step. Who knows – you may be inspired to take the plunge yourself?
Just to remind you, this is the bare bones of my lovely vintage midcentury modern office chair:
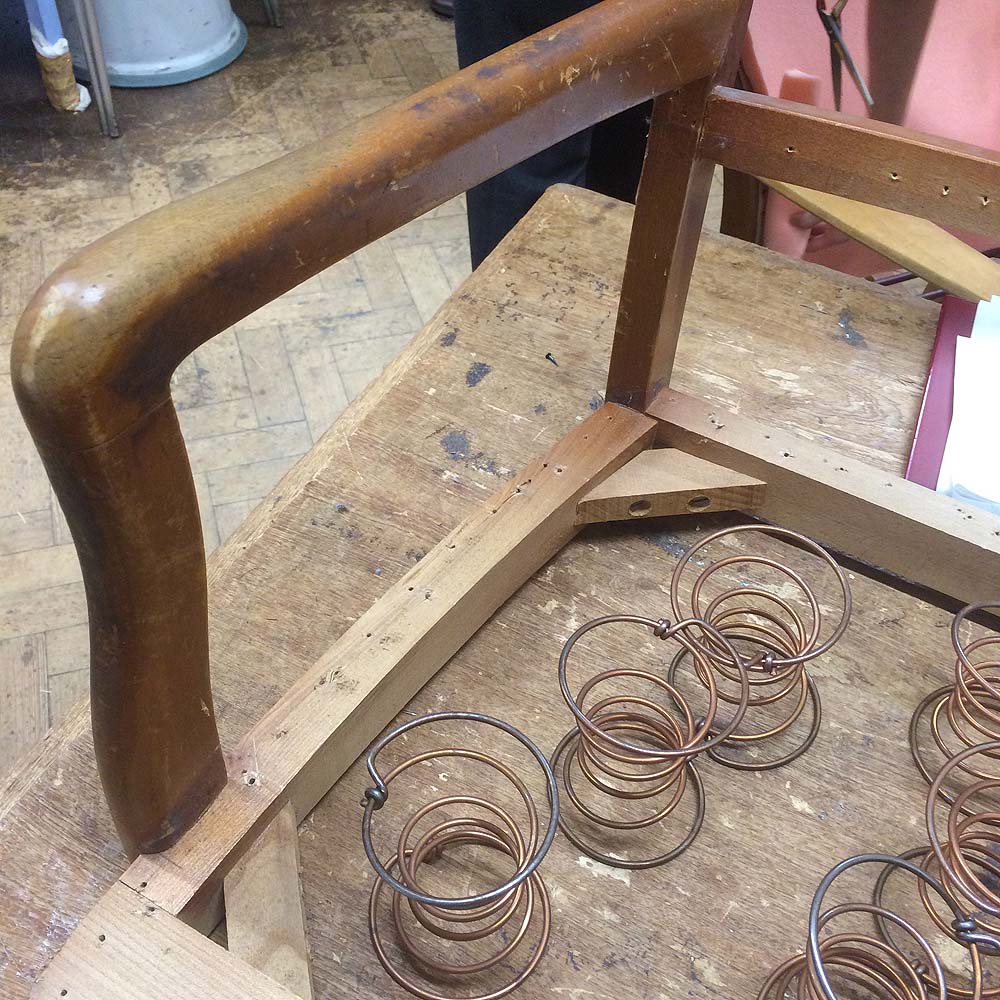
So having completely stripped my cool 1950’s office swivel chair down to a naked frame and loose springs, now comes the tricky part – reconstructing the whole thing…
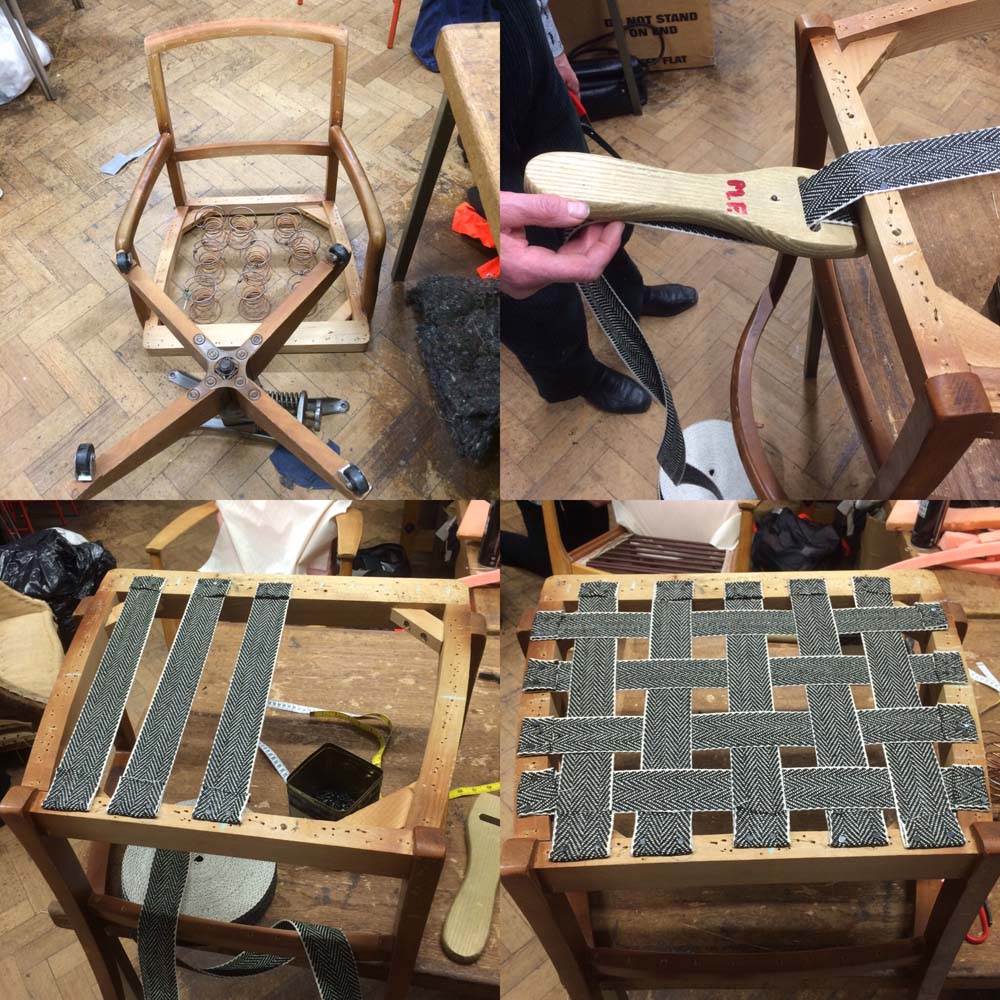
Under the strict instructions of a marvellously old-school tutor named Sarah B, on goes the webbing.
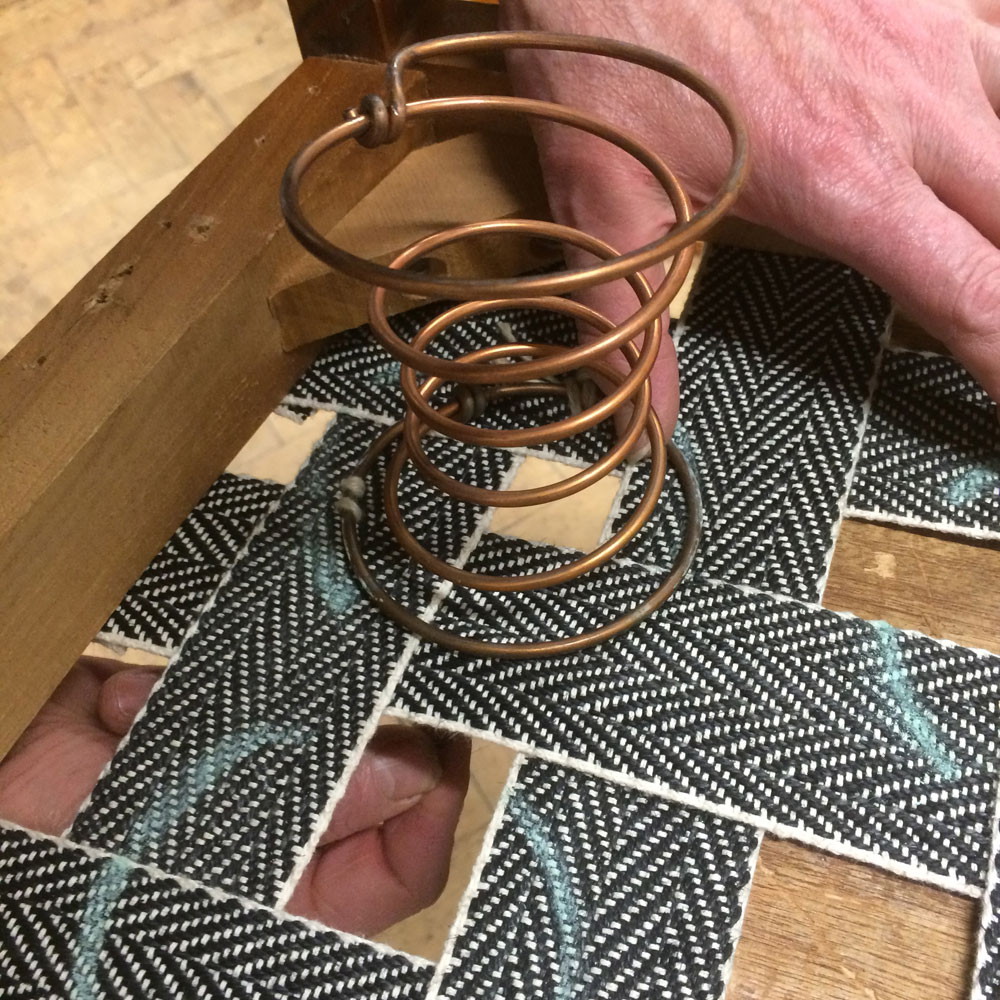
Once webbing is complete, the springs have to be attached on, using a curved needle and twine.
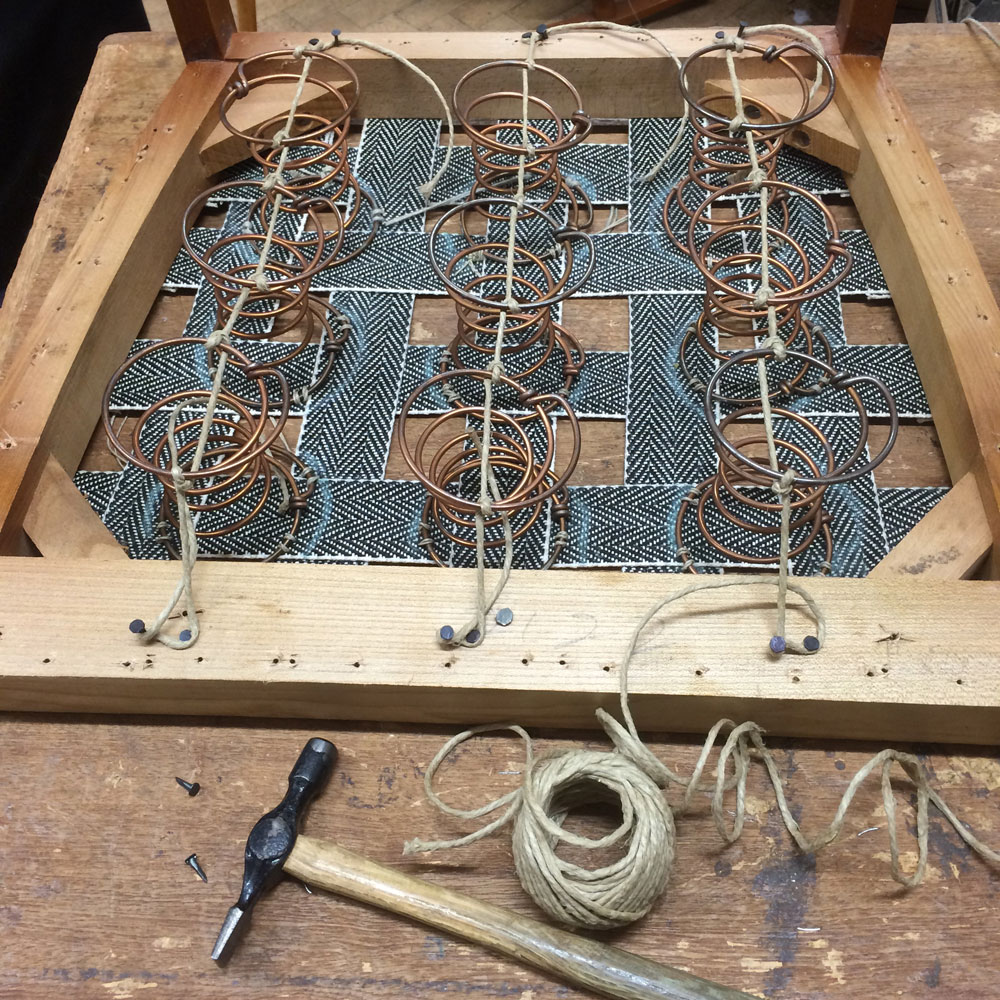
This is what you end up with – a full set of springs attached to webbing and secured to the frame, ready for the next part…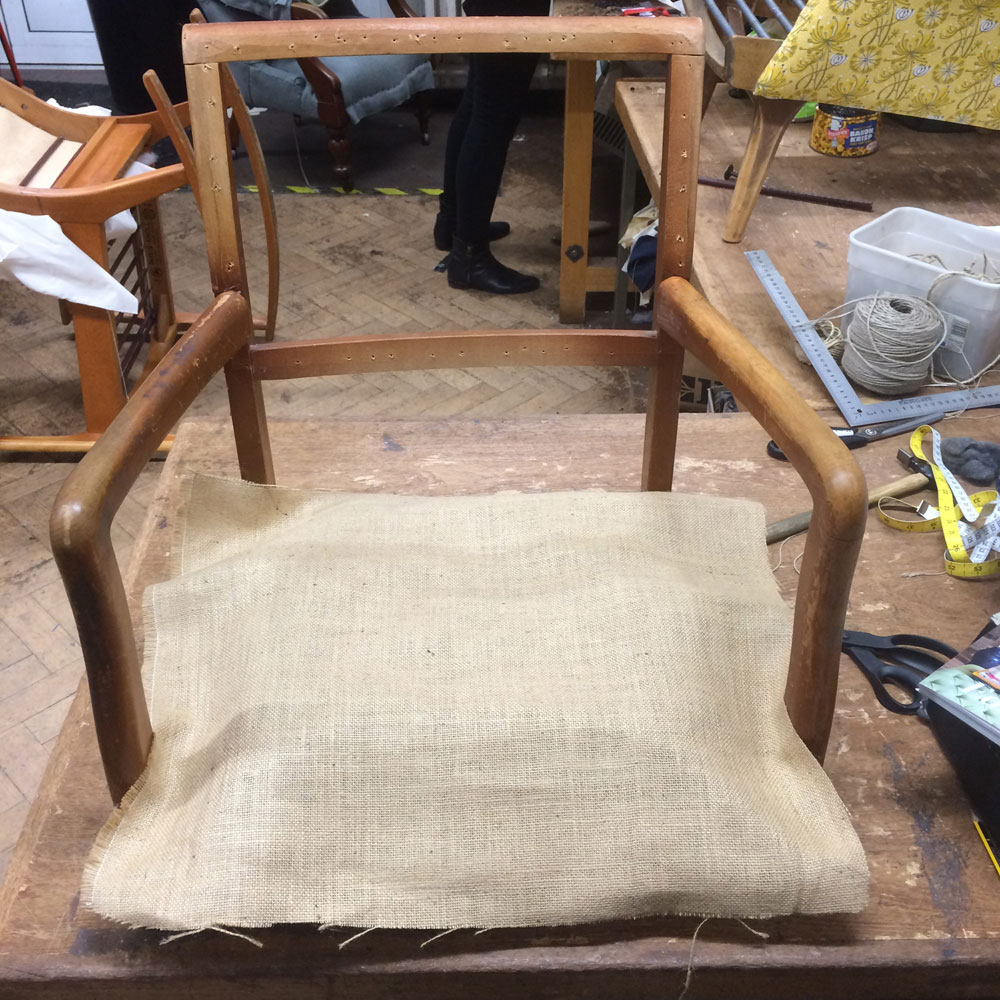
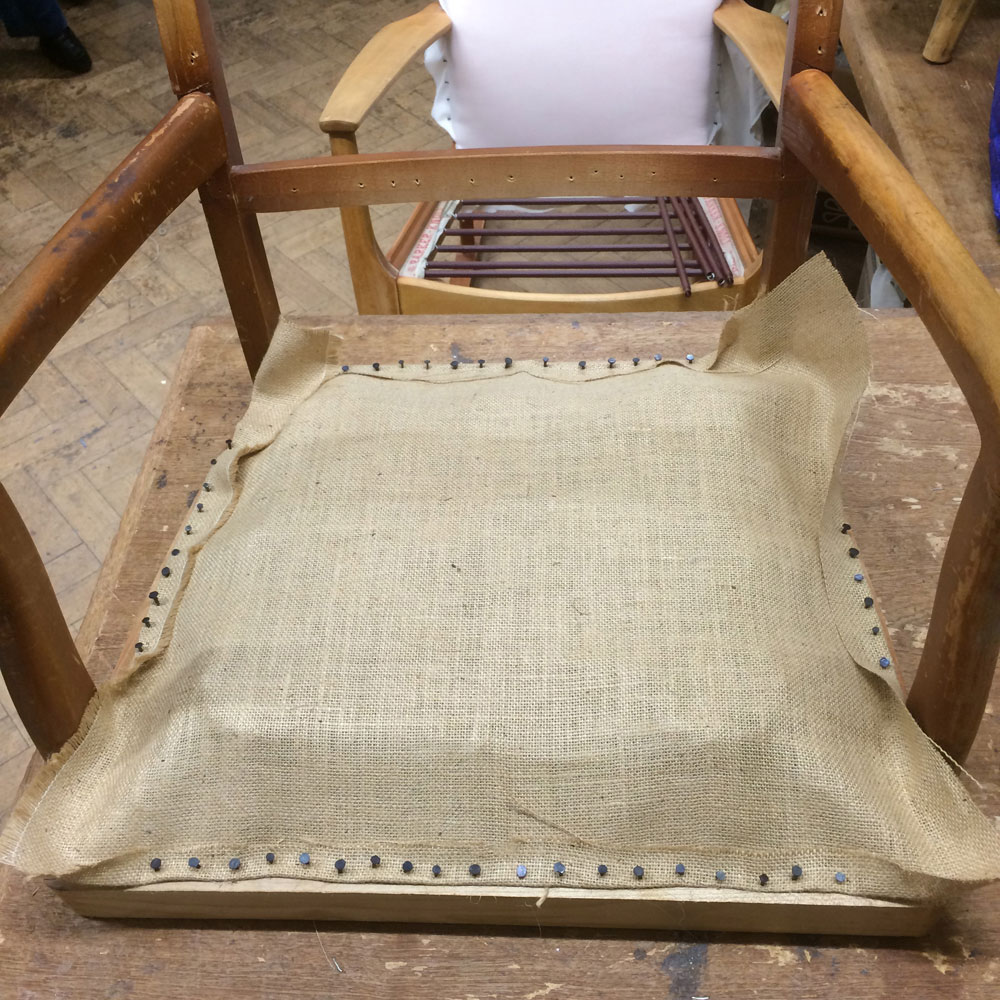
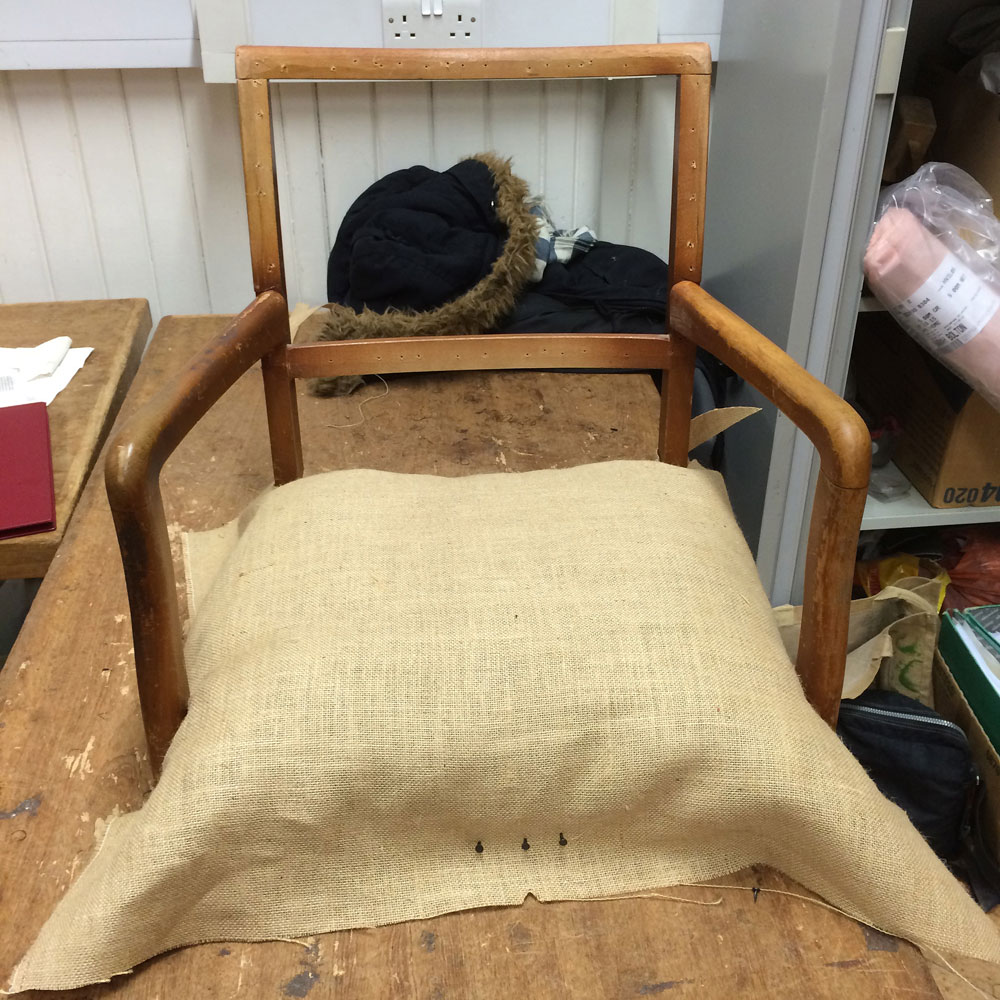
A nice square piece of hessian to cover unsightly springs, which then needs tacking onto the frame.
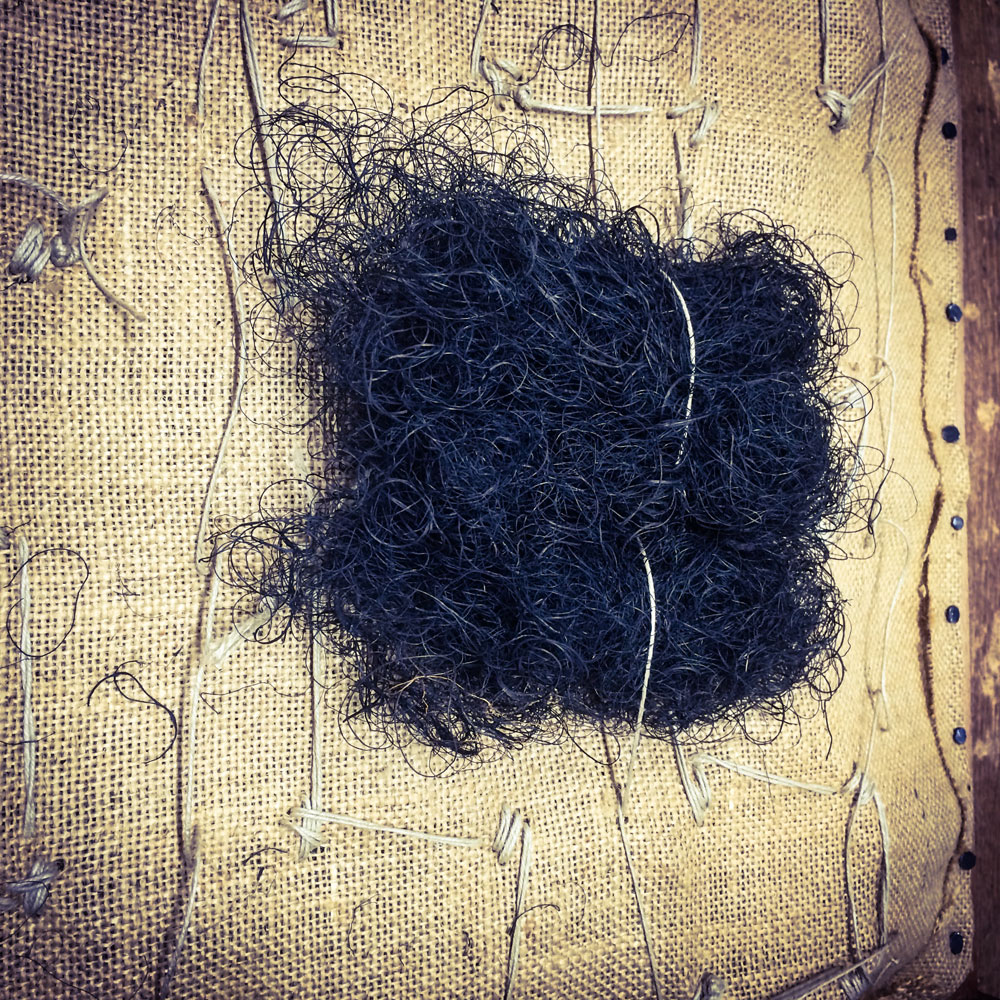
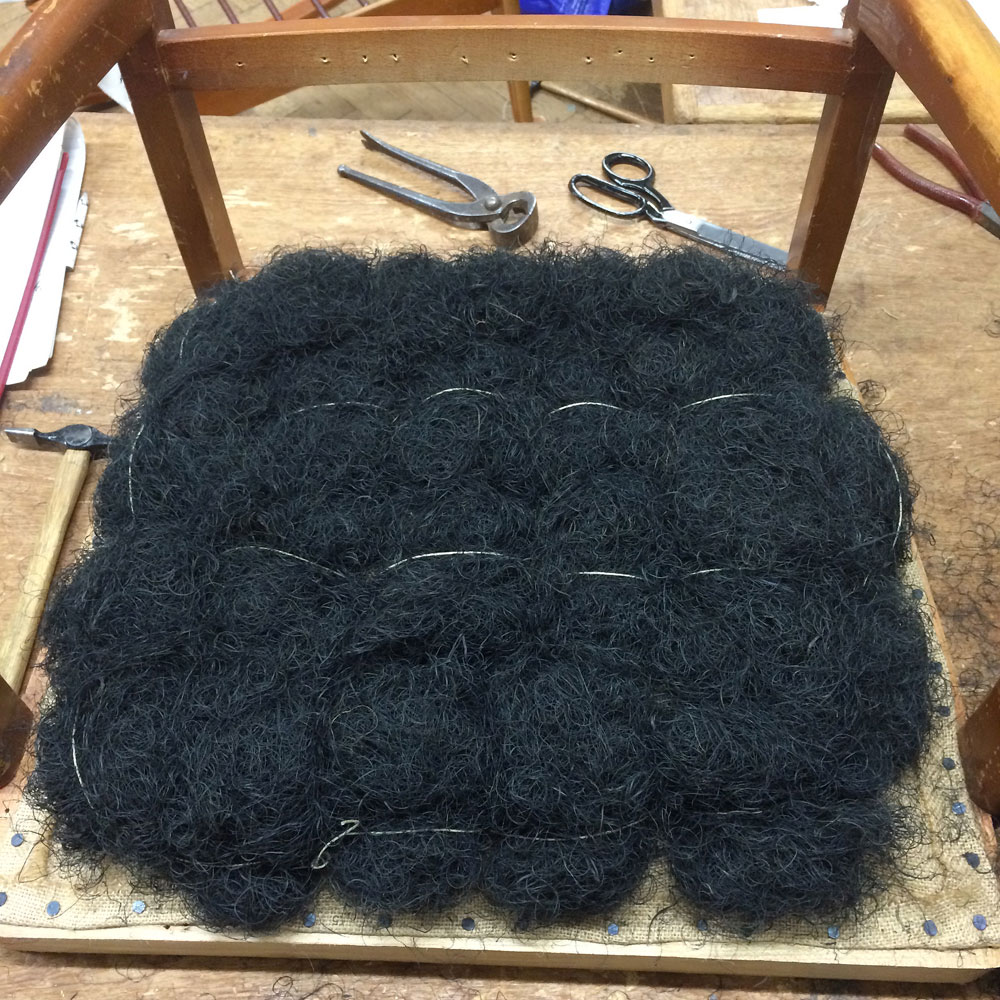
And the fun part is coming up shortly…after stitching on several rows of twine I stuff in some hog hair…
Until you end up with a surface area that looks like a huge retro marshmallow topped biscuit from the 1970’s (showing my age again…)
And having covered the seat with a fair amount of stuffing, it’s back to another layer of hessian.
Beginning to look like a chair isn’t it? We are making progress, slowly but surely… Look out for my upcoming blog on this 1950’s office chair to follow the next stages.